4 Sep 2026
Post by Fiona
Introduction
Changing the default camera in Windows 11 can truly elevate your video conferencing and photography experience. Whether you’re dealing with a lackluster built-in camera or excited to use a new, high-definition external webcam, setting the right default camera can make all the difference. Windows 11 provides a user-friendly environment to help you manage your cameras efficiently. This guide offers a step-by-step approach to changing your default camera, understanding the necessity for this switch, and addressing potential camera-related issues.
Understanding Windows 11 Camera Settings
Within Windows 11, you have an array of powerful tools at your disposal to customize your camera settings. This operating system supports multiple cameras, such as built-in and external webcams, and allows you to designate a preferred one as your default camera. These settings can be customized to adjust permissions, quality, and performance, ensuring privacy and security. They allow you to control which apps have access to your camera, which is essential for using specific devices across various tasks.
Switching between cameras might be useful for several reasons, such as enhancing video calls, boosting image quality, or solving compatibility issues with the existing camera. Mastering these settings gives you control over your multimedia resources, ensuring you’re well-prepared for any camera-related task.
Why You Might Need to Change the Default Camera
Choosing a different default camera in Windows 11 can be beneficial for multiple reasons. Some users find an external camera offers superior clarity and performance compared to their built-in option. Professional requirements for teleconferencing, recording, or streaming may demand a higher-quality camera to achieve optimal results. Moreover, you might experience functional issues, such as compatibility problems with apps or updates, that necessitate a switch.
Understanding the need for a change is as integral as the change itself. Considering your requirements will aid in selecting the best device that complements your setup and meets your expectations.
Preparing to Change the Default Camera
Proper preparation ensures a seamless transition when changing your default camera.
- Ensure all cameras are connected securely. For external devices, make sure they’re plugged into the correct USB port and receiving power.
- Update camera drivers via Windows Update or the manufacturer’s website. Updated drivers can fix bugs and enhance compatibility.
- Take note of your existing camera settings or preferences for easy rollback if needed. Understanding your current setup facilitates hassle-free transitions.
These preparatory steps will help streamline the device switching process.
Step-by-Step Guide to Changing the Default Camera
Now that you’re prepared, let’s proceed with altering the default camera settings in Windows 11.
Accessing Camera Settings
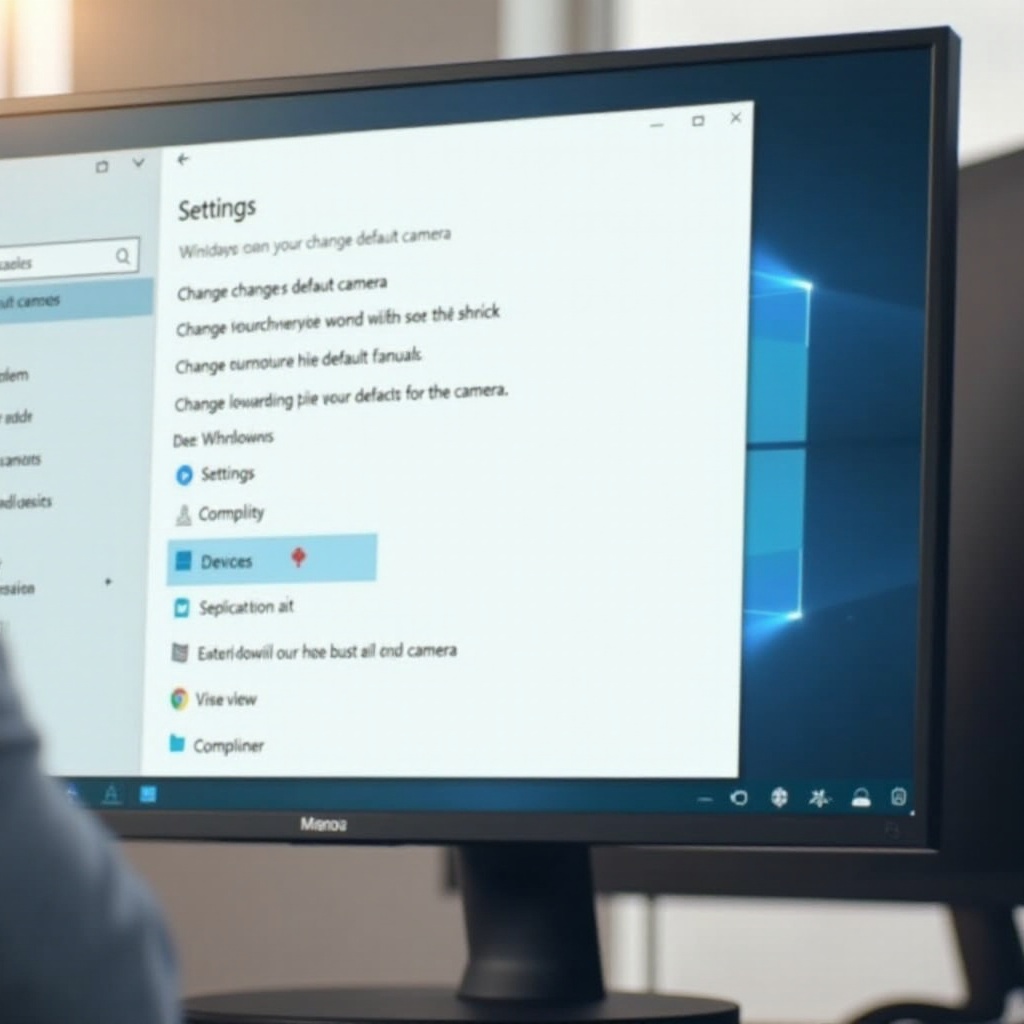
- Click the Start menu and navigate to Settings.
- Select Devices.
- From the sidebar, click Camera to see a list of installed cameras.
Familiarity with these navigation routes simplifies future camera-setting adjustments.
Modifying Default Camera Options
- In the Camera menu, locate the camera you wish to set as default.
- Click the camera to access its settings.
- Choose Set as Default to make it your primary camera.
Ensure your selected camera meets all application needs.
Testing the New Default Camera
- Open an app such as Camera or a video conferencing tool.
- Verify that your camera change is recognized by checking the live preview.
- If necessary, fine-tune settings within the app to enhance performance.
Testing confirms proper system recognition and performance of the default camera.
Troubleshooting Common Camera Issues
Even in an efficient environment like Windows, occasional camera issues may arise. Being aware of common problems helps you resolve them swiftly.
Recognizing Error Messages
Stay alert to error notifications indicating missing drivers or blocked permissions. Understanding these messages aids in effective problem diagnosis.
Ensuring Camera Compatibility
Validate your hardware and software’s compatibility with Windows 11 to prevent configuration errors. This may involve verifying model conditions or researching known shortcomings.
Solutions to Common Problems
- Reinstall camera drivers if issues like intermittent performance occur.
- Restart your computer to apply changes.
- Verify privacy settings to ensure applications have requisite permissions.
These solutions typically resolve issues, ensuring optimal camera utilization.
Enhancing Your Camera Experience in Windows 11
Enhancing your digital setup can be achieved by exploring app-specific settings to refine camera quality. Utilize popular apps like Skype or Zoom to configure your camera for maximum potential. Regularly updating software guarantees consistent performance upgrades.
Conclusion
The right default camera selection can significantly enhance your Windows 11 usage. By following this guide, you can efficiently navigate camera settings, switch defaults, and troubleshoot common issues. A well-configured camera boosts video conferencing, photography, and more, making it a valuable asset for personal and professional endeavors. Equip yourself with the know-how to manage your cameras adeptly and confidently.
Frequently Asked Questions
What should I do if my camera is not listed in the settings?
Ensure the camera is connected and visible in Device Manager. Updating drivers may help with recognition issues.
How can I revert back to the previous default camera?
Retrace your steps in the camera settings, selecting the original camera as the default device.
Are there third-party apps that can help manage my camera settings?
Yes, apps like ManyCam offer advanced control over camera settings and switching, with features surpassing Windows’s built-in options.