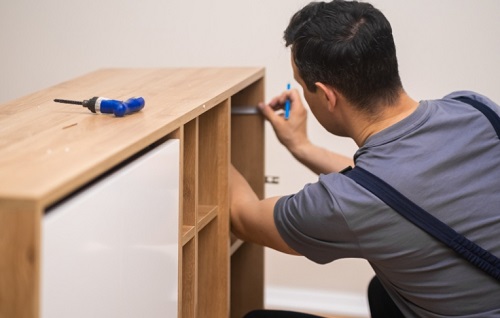
Installing shelves is a practical and satisfying way to add both functionality and style to your home. Whether you’re looking to maximize storage space, showcase decor, or keep things organized, DIY shelf installation allows you to customize your storage solutions to fit your needs. This comprehensive guide will walk you through the benefits of installing your own shelves, the tools and materials you’ll need, how to select the right shelves, and a detailed step-by-step installation process.

What Are the Benefits of Installing Your Own Shelves?
Installing shelves yourself offers several advantages:
What Tools and Materials Do You Need?
Before starting your project, gather the following tools and materials:
Tools:
Materials:
How to Choose the Right Shelves for Your Space?
Selecting the right shelves for your space involves a combination of functional and aesthetic considerations. Here’s a guide to help you make the best choice:
Wood: Wood shelves are classic and versatile, available in various finishes and sizes. They can be painted or stained to match your decor. Opt for solid wood or high-quality plywood for durability.
Metal: Metal shelves are ideal for industrial or modern designs. They are usually very strong and can handle heavy loads. They’re also easy to clean and maintain.
Glass: Glass shelves offer a sleek, contemporary look and are great for displaying items without visual clutter. However, they require careful handling and regular cleaning to avoid smudges and dust.
Heavy-Duty Shelves: For holding heavy items like books or kitchen appliances, choose shelves and brackets that are rated for high weight capacities. Ensure the installation method supports the weight.
Standard Shelves: For lighter items, standard shelves and brackets will suffice. Always check the manufacturer’s weight recommendations.
How to Install Shelves Step-by-Step?
How Do You Prepare the Wall for Installation?
Measure and Mark: Use a measuring tape to determine where you want your shelves. Mark the positions with a pencil.
Locate Studs: Use a stud finder to locate the wall studs, which are crucial for securing heavier shelves. Mark the stud locations.
Check for Level: Ensure your marks are level by using a level. Adjust as needed to make sure your shelves will be straight.
How Do You Secure and Level the Shelves?
Drill Pilot Holes: Drill pilot holes into the marked positions, ensuring they align with the wall studs or anchors.
Insert Anchors: For drywall or other hollow walls, insert wall anchors into the pilot holes. If you’re drilling into studs, you can skip this step.
Attach Brackets or Mounts: Secure the brackets or wall mounts with screws. Ensure they are tightly fastened and level.
Mount the Shelves: Place the shelves onto the brackets or wall mounts. Double-check that they are level before securing them in place.
Final Adjustments: Make any necessary adjustments to ensure the shelves are stable and aligned properly.
Conclusion
Installing shelves is a straightforward DIY project that can significantly enhance your home’s organization and aesthetics. By following this guide, you can successfully complete the installation process and enjoy custom storage solutions tailored to your space. Remember to measure carefully, choose the right materials, and secure everything properly to ensure a sturdy and attractive finish.
FAQs
What type of shelves should I use for heavy items?
For heavy items, opt for sturdy materials such as solid wood or metal shelves. Use strong brackets and secure them to wall studs for added stability.
How can I ensure my shelves are level?
Use a level to check that your marks and brackets are aligned. Make adjustments as needed before securing the brackets or mounts.
Can I install shelves on drywall without studs?
Yes, you can use wall anchors specifically designed for drywall to support shelves. However, for heavier items, securing shelves to wall studs is recommended for greater stability.
